Sunday, December 14, 2014

Decorating Christmas Cupcakes and a Giveaway


Why didn't you tell me we only have two more weeks until Christmas?!
Yikes!
 
So much to do and so many presents to wrap.
 
This weekend I decided to spend some time baking and instead of making sugar cookies, I made some Christmas cupcakes.
 
I had some shopping left to do and a Christmas party to prepare for so time was limited  so I broke out my box of Oodle Tips.


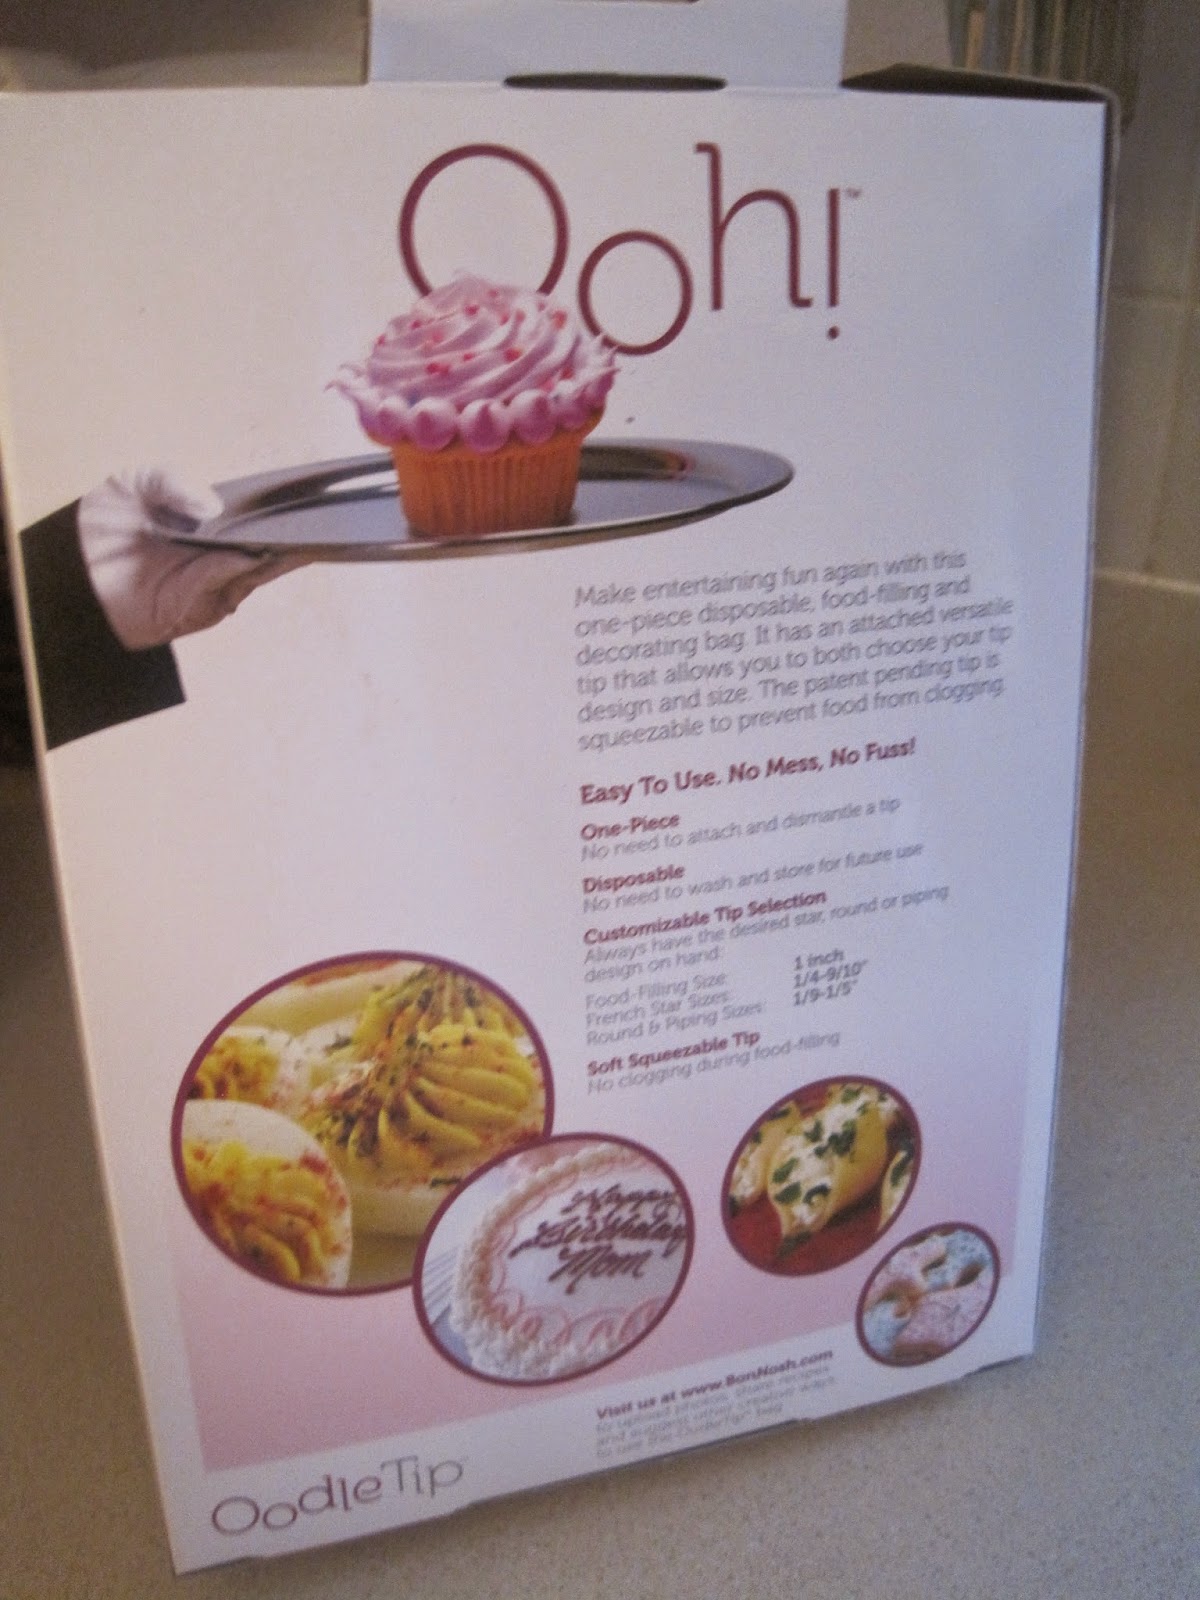
Have you heard of Oodle Tips?
 
They are my newest favorite kitchen gadget and they have made my life so much easier this holiday season.

Icing sugar cookies and cupcakes can sometimes be messy and take a lot of time to get it just right.
 
Well, the Oodle Tips are these fabulous icing bags with tips built right in so all you need to do is fill the bag with icing, cut your tip and away you go!


Seriously! It is THAT EASY!


See, they even tell you where to cut the tip to get the exact shape you need.


The Oodle Tip comes with the tip built right in so you can get icing as thin or fat as you want simply by cutting the tip.
 
The deeper you cut the tip, the larger the tip gets which allows for more icing to come out.
 
So while I was waiting for my laundry to dry I simply made a quick batch of icing.....


Filled my Oodle Tip bag..........


Then I cut the tip to start with thin piping ......


And made some random designs on the cupcakes.


Then I cut down the tip one more notch to make the hole bigger so I could make this design.....


On some of the cupcakes I spread the icing with a knife,


And then for others I cut the tip even deeper to create a starred edge.


Then I used it to create this design.


I sprinkled them with red and green sugar sprinkles,
and voila!


I also used the star tip to create this squirly top with the lines like you often find in bakeries.


Looks fancy! :)
 
 
And in FIFTEEN MINUTES I had decorated a DOZEN cupcakes and there was
NO MESS!


Pin It

 I love all the different designs you get with ONE bag!


The buzzer on my clothes dryer went off so it was time to get dressed and head out to a friend's Christmas party.
 
So I simply threw the empty Oodle Tip bag in the trash, no mess to clean up, and away I went!


I decorated an entire dozen in several different designs and only used ONE bag!
 
Just think how much faster you can get sugar cookies decorated, or fill your deviled eggs!
The list of uses goes on and one.
 
I love the Oodle Tip and I am delighted to be able to offer one lucky person a box of their very own Oodle Tip bags with tips!
These will come in so handy for all your holiday baking, Valentines Day sweets, and Easter too.
 
And you can even use them to make yummy drinks like you see here below!
 Photo: Beautify Your Food Creations With OodleTip® Bagswww.bonnosh.comOodleTip® bags are the world’s ONLY disposable pastry bags that have attached versatile decorating tips. Stop using boring Ziploc bags to beautify you food creations. With the disposable OodleTip® bags you will NEVER again need to assemble pastry bags to rusty old metal tips; better yet, no more clogging, no more mess and no more clean up!To pipe beautiful OodleTip® designs simply use scissors to snip the OodleTip® in the desired design location. One OodleTip® can create countless shapes, sizes and designs. Use the OodleTip® to make holiday cakes, cupcakes, pipe out and decorate cookies, fill donuts, fill appetizers, fill cannoli’s, chocolate molds, candy making etc.Each box of OodleTips contains 10 disposable pastry bags with attached tips and are on sale for a limited time only at www.bonnosh.com. Don’t be caught this holiday without a box of OodleTips. Get yours today while supplies last at Michaels Craft Stores or directly at www.bonnosh.com.
 
Just enter the Rafflecopter below for your chance to win a box for yourself!
 
 
Pin It
 
Enjoy!
 
Jennifer


a Rafflecopter giveaway


The Chicken ChickMonday Funday Link PartyPhotobucketA Stroll Thru LifeBy Stephanie LynnMarvelous Monday Linky PartyThe-Casual-Craftlete

300px+turn+it+up+button+copySavvy Southern StyleYour Whims WednesdayImparting GraceBe.You_.Tiful-Link-Party-Button-500x500The Shabby NestJUNKINLOGO221111112TIGfinal

Sunday, December 7, 2014

My First Attempt to Grow Paperwhites for Christmas


If you follow me on Facebook then you know that last month I attended a holiday open house at a local nursery.
While I was there I picked up a few things which you can read about HERE,
and while in the check out line I happened to glance over and saw the bulbs and remembered that this was on my to do list.


The process seems pretty easy, so this year after watching everyone adorn their home with beautiful flowers during the holidays, I decided to give it a try.


So I grabbed five bulbs.
 
I put them in this glass bowl. From the pictures I have seen these get pretty tall so I tossed around the idea of putting them in tall glass vases, but in the end I went with a glass bowl so I could see what was going on and really watch them grow.
 
Kind of like a kid with an ant farm! LOL
 
I wanted to watch those babies grow and nosey in on them from time to time.


The bowl I am using is deep enough to get a good base of rocks and water and allow room for the roots to grow.


I quickly realized I needed more rocks after they started to sprout so I added more randomly throughout the bowl to help hold the bulbs in place.


Right now I have them in my dining room where they get filtered light and I noticed that they like to grow towards the light so I turn them slightly each day to keep them as straight as possible.


See the runt of the pack in the lower right corner? LOL
 
For whatever reason he is not jumping for joy like the rest of em'.
 
He's a little behind the group but he IS growing so I think he will be ok.....just a late bloomer.
 
The process is pretty easy at this point-no flowers yet so lets keep our fingers crossed!!!
 
Right now I sit and wait. 


Have you ever tried forcing bulbs during the holidays/winter? Ever tried Paperwhites or Amaryllis?
 
Enjoy your week,
 
 
Jennifer


Linking Up To:

Marvelous Monday Linky PartyThe Chicken ChickBy Stephanie LynnWe Wish You A Merry Christmas from Treasure Box TuesdayLinky PartyYour Whims Wednesday


Wednesday, December 3, 2014

Rug Pad Corner Review-Make a Cheap Rug Feel Like a Million Bucks

 
I struggled with the name for this post.
 
Was I going to give it the literal and boring name
 
 "Rug Pad Corner.Com Review"? 
 
Or was I going to give it a name that really speaks to what I am about to show you?
 
 
 "How to Make a Cheap $24 Rug Feel Like a Luxury Hotel Rug".
 
Seriously folks. 


If you are like me, you  glazed over the rug pads in the stores thinking you didn't really need one.
 
I was of the mindset that if the rug had a gripper of some sort on the back then I was good, right?
 
Boy was I WRONG!
 
But lets backtrack...when I was asked to try out the rug pads from Rug Pad Corner.com I was skeptical because of the negative experience I had previously with a rug pad that discolored our vinyl flooring and never worked.
 
But I was happy to see that the Rugpadcorner.com rug pads are environmentally friendly.
 
 
They are chemical free and will NOT harm your floors.
 
So now I was curious and excited to try the rug pads.
 
When they arrived they were neatly rolled up together and packaged in plastic to keep them dry in the shipping process.


Can you believe there are two rug pads rolled up tightly in this package?
 
When you unroll them there are instructions included too.


So I removed my carpet, swept and cleaned my floor, then unrolled the rug pad facing the correct way per the instructions.


For my 5x7 area rug I ordered the 3/8 inch Superior Thick Protection pad.
 
It is a thick cushy pad that really beefs up my inexpensive area rug.
 
 
See the bottom of my inexpensive cheap rug?
Its just a mesh backing that does not protect my floors OR prevent slipping.


And the rug pad enhances it by adding a layer of softness and
of course protection against my hard wood floors.


It raises the rug a bit but you can't tell by looking at it that there is a rug pad underneath, until you step on it of course!
 
The rug has bounce now and is kind of squishy under your feet.  


Pin It

So now on to my second rug pad.
 
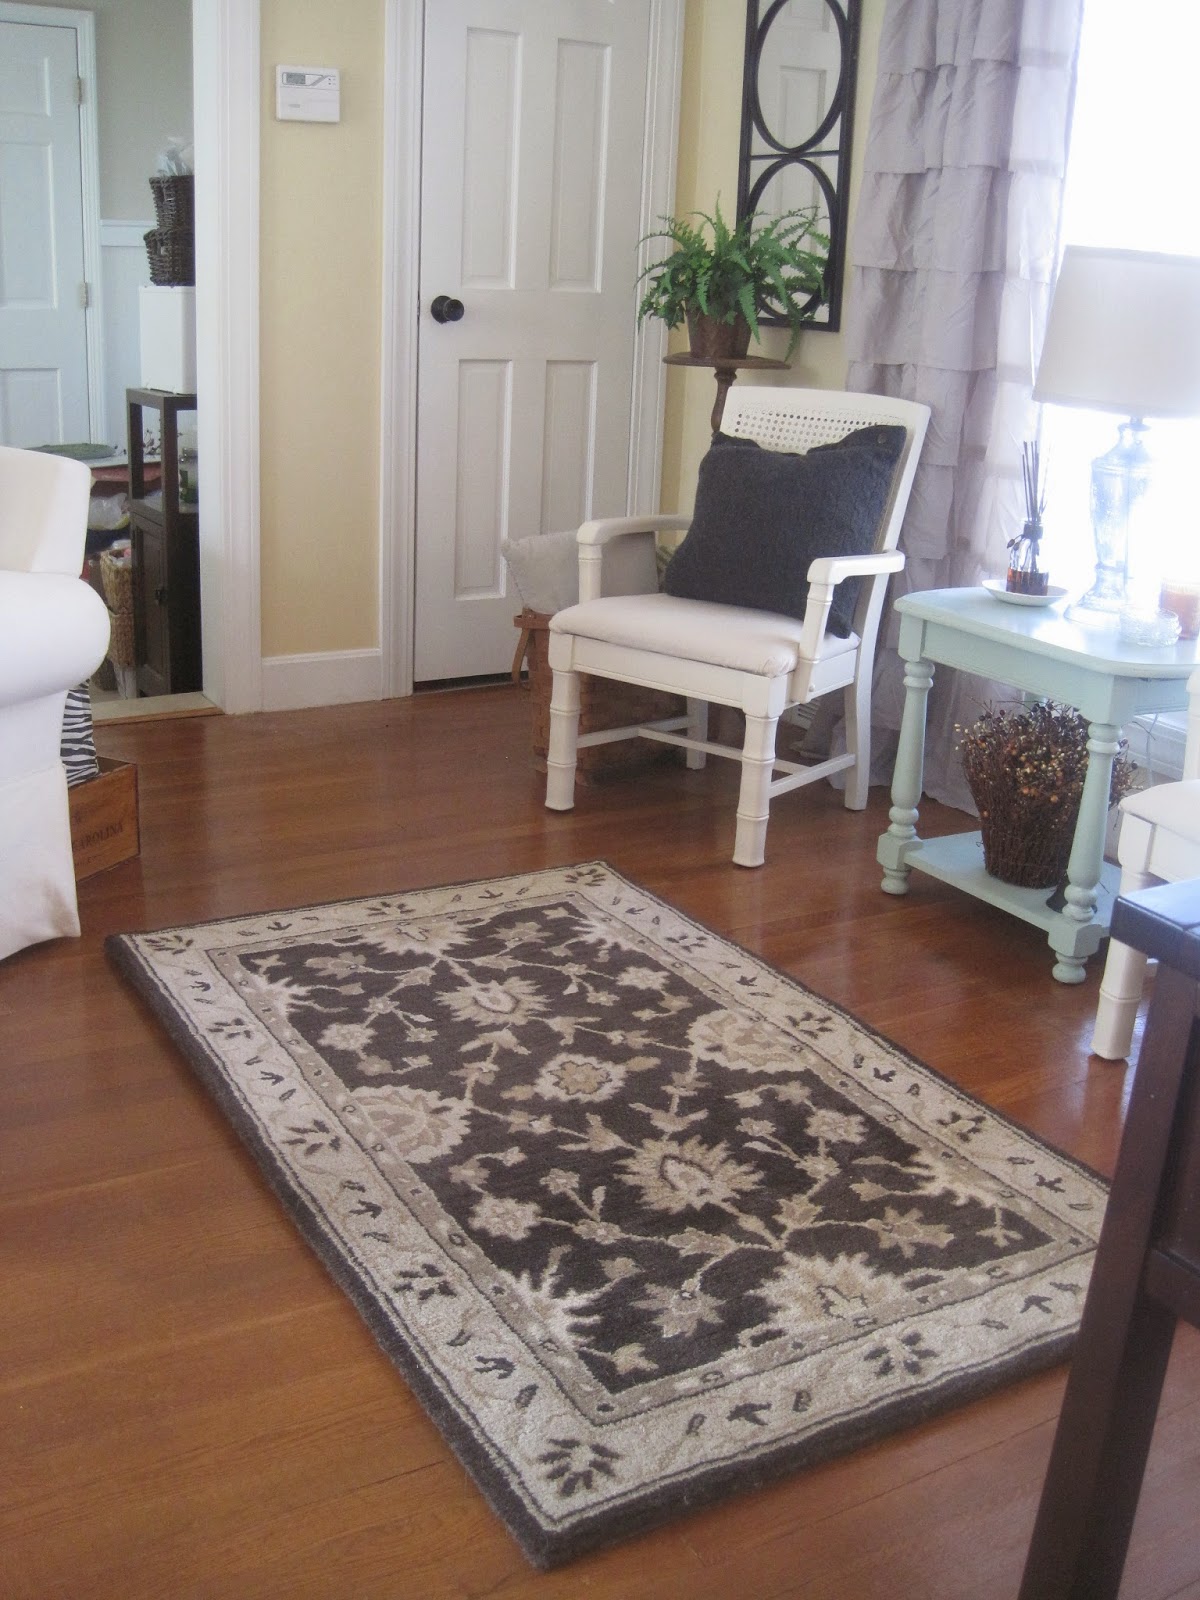
Remember by Ballard Designs rug I got a while back?
 
 I ordered the Ultra Premium Non-Slip rug pad for it and am using it in the back of my front room.


I started with a clean and empty floor......just ignore the stain. :)


The round rubber pieces grip the floor..........


and the textured side grips the rug to prevent slipping.


Once the rug pad was rolled out I simply positioned the rug on top and they immediately connected and there was no slipping!


It really worked!
 
My dog runs across it every day on her way out to the garage and I used to have to straighten it EVERY.TIME!
 
But now my rug stays put and I love it!


Here it is with the rug on top.
 
This is a wool rug from Ballard Designs so it is naturally thick and plush, but the rug pad really takes it to the next level and makes it feel like an expensive and luxurious rug.


Pin It 
 
You can find my rug pads at Rugpadcorner.com.
 
Their rug pads come in a variety of sizes and thicknesses, and they also offer anti-slip options as well!
 
 
And lucky YOU!
 
All Decorated Chaos readers can get 15% off their order at Rugpadcorner.com
 
Just use the code REVIEW15 at checkout to get your discount.


Enjoy!
 
 
Jennifer
 
*I was provided with the rug pads to review, but all thoughts and opinions are of my own.  


Linking Up To These Great Parties:
 
 http://www.thethriftyhome.comTreasure Hunt Thursday
Glitter, Glue & Paint Grace at Home96jj-12514-towerSay G'Day Saturday @ Natasha in Oz
 
 Marvelous Monday Linky Party