Thursday, February 27, 2014

Ballard Inspired Memo Board & Giveaway Winner!


Burlap Memo Board
 
Pin It
 
This memo board has been around the Ballard Designs catalog for quite some time now and after a couple years of having it on my wish list I decided to take matters into my own hands and make one.
 
I am pleases how it turned out and was super happy at how budget friendly this project was!
 
I bought a couple yards of burlap, some upholstery tacks, and a cork board.
I used my 40% Hob Lob coupon for the cork board but you most certainly can use one that you already have or that you find at a thrift store or garage sale.
I just didn't have one on hand at the time to use so I bought a new one.
 
Start by wrapping the burlap around front of the canvas
(I folded my burlap in half so I would have a double layer) 
and use your staple gun to attach it to the backside.
 
It is VERY important to keep pulling the burlap fabric tight as you go along stapling it to avoid air bubbles and loose saggy sections.
 
After the burlap is attached to the cork board begin hammering in the nail heads.
 
I wanted my memo board to look like the one in the Ballard Catalog so I used oil rubbed bronze nail heads and spaced them every inch and a half.
 
 
If you look closely, mine are not PERFECTLY spaced as I did not do a precise mathematical calculation of how many nail heads I would need.
Instead, I estimated, and that is what makes DIY so much fun is that you don't have to be exact!
 
After the nail heads are all tacked in just attach a hanger to the back of your memo board and that's it!
 
 
I used a piece of twin and made it into a loop then stapled it to the back of the board.
 
 
Simple and yet so cute!
 
 
For the hanger, I used a 3M strip hook in ORB.
 
These hooks are perfect when you don't want to fully commit to putting a hole in the wall!


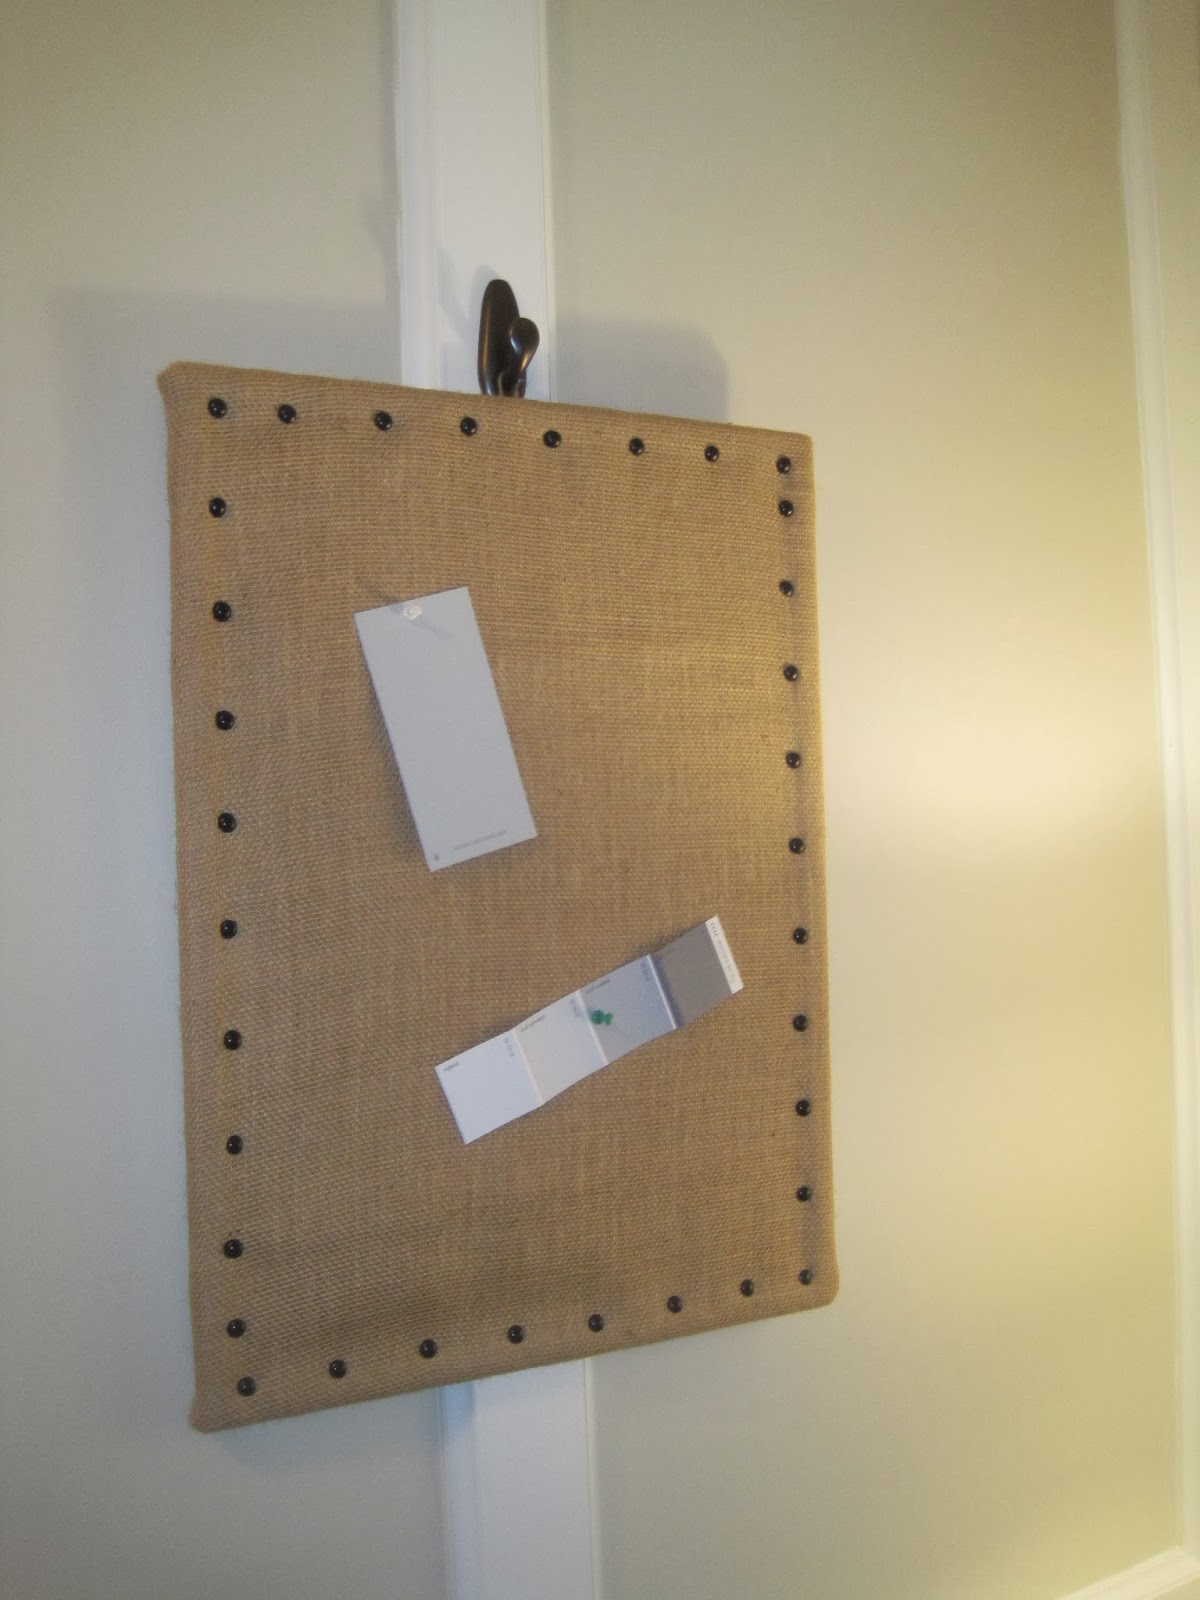
Here it is fully finished and hanging up in my office next to my new lamp that you can read about HERE.


For now I am using it to hold all my paint swatches but plan on adding photos and notes.  


Here is a side by side comparison and as you can see there is very little difference.
 
Mine looks just like theirs! 

 Pin It

 If you are looking for a quick project to add organization and style to your office, kitchen, or craft room this is a great project that will take you very little time to do and can be done for about $10 bucks, or less!
 
I love how it turned out and now I can't wait to get the rest of my office projects underway!
 
 
And for the moment you have been waiting for................
 
The WINNER of the Big Stock Photo giveaway is............
 
HARMONY BURMEISTER!!!!!!!!!!!!!
 
Congratulations Harmony!!!!
 
I will be contacting you soon to claim your prize!!!
 
Have a great weekend all!
 
 
Jennifer
 
 
Linking Up To:
 
504 Main The Shabby NestLiz Marie Blog150x150 SSS Strut Your Stuff Button A Joyful Cottage2014 Link Party GraphicJUNKINLOGO221111TitiCrafty by Camila

 Join me on SUNDAYSGet Your DIY On

 
Sunday Best Feature ImageThe Dedicated House
Three Mango Seeds TPB Party Bunch Link Up... Every Friday to Sunday link up your projects over at  theidearoom.net , thirtyhandmadedays.com , whipperberry.com or the36thavenue.com Four bloggers = ONE BIG PARTY! We can't wait to see your projects!My Uncommon Slice of SuburbiaBlog Hop Blank 5 bannerHouse on the WayBy Stephanie Lynn


Savvy Southern StyleHow I Found My Style31daysbuttonb-2 smallInspire Me PleaseTip_Me_Tuesday_Button_TipJunkie-jpg

http://decoratedchaos.blogspot.com/2014/02/ballard-inspired-memo-board-giveaway.html

Monday, February 24, 2014

How to Rewire a Lamp


Restoration Hardware Lamp
 
Remember that amazing Restoration Hardware gourd lamp I recently found at the thrift store?  You can read about it HERE.
 
Well, I was super pumped when I found it for such a great price and it was in pristine condition so I bought it without plugging it in to see if it works.
 
NORMALLY I wouldn't want to waste my money on a lamp that didn't work.....BUT this was such a great deal that when I got it home and it didn't work I was OK with it and made the best of it by trying my hand at rewiring it.
 
So after lots of research and many emails and posts with your suggestions, I went for it!!!!
 
I bought a lamp kit at HD for less than $10 bucks and followed the instructions..........which were pretty simple! 


Start by loosening the base like I did here.
 
 
Then loosen the part where the bulb screws into.
 
As you can see, there are two "bolts" that wires hook to.
 
To take OFF the original piece simply use a screw driver to loosen the screws and remove this part.


Then once this part is taken off you can pull out the cord from the bottom of the lamp where you unscrewed the base, and insert your new cord.


...and thread it thru the base and up through the middle of the lamp.
 
 
Simply push the new cords together up through the middle of the long screw like tube.  


Once you do that the wires should be sticking up out of the top of the lamp.  


Then simply screw on the NEW wires to the NEW light bulb piece aka "socket".
Simply wrap one wire around one screw and tighten it with a screwdriver  and do the same to the other wire and screw so that it looks similar to this.... 


Now you have your "socket" put together and can screw in a light bulb and test it to make sure it works.
 
 
****SAFETY FIRST****
Be sure to keep your fingers OFF the screws/exposed wires when you plug it in to test it!!! 


 After that just pull your wires back down and secure everything in place.

My lamp required me to tighten a screw at the bottom of the base to keep the cord and inner guts secure.

Lastly, attach your lampshade and voila!

BRAND.NEW.LAMP!


Here  are a couple shots of my rewired Restoration Hardware lamp.
 
Woot woot! I {LOVE} it!!!


Pin It

So lets recap:
 
Restoration Hardware gourd lamp from thrift store: $7.99
 
New lamp kit: $8ish
 
So for roughly $16 bucks I got a lamp that retails for hundreds!!!
 
Now that I know how to rewire a lamp I can give old lamps new life, and rewire great ones like this Restoration Hardware lamp for MUCH less than buying new!!!


*Don't forget to enter my Rafflecopter  Giveaway HERE for a free poster sized piece of wall art from Bigstock.com, and get your FREE images using the promotional code!
 
 
Jennifer


 Awesome Things TuesdayMoonlight & Mason Jars Link Party
 
livelaughlinky 250x250Made in a Day150x150 SSS Strut Your Stuff ButtonLiz Marie Blog A Joyful Cottage


Savvy Southern Style2014 Link Party GraphicSunday Best Feature ImageJoin me on SUNDAYSGet Your DIY On


http://www.thethriftyhome.comBy Stephanie Lynnsouthern hospitality