

OK, so in my last post I revealed my new living room color. You can read about it HERE.
Now that I have a new color pallet to work with, I am refreshing my decor. I would say that I am redecorating, but that would imply that I'm throwing everything out and starting over and that is not the case. I'm too thrifty for that!
I am refreshing my living room with some new home decor but most of it is being up cycled with new paint.
One of my biggest pieces getting a makeover is this black mirror. It is the focal point above my mantel and I've had it since about 2002!
Got it at Hoblob on clearance and the frame was silver with flecks of gold.
I kept it like that until I bought my house in 2006 and then I spray painted the frame with a satin black spray paint.
See! I have been using spray paint to update stuff FOREVER....it was a skill my mama taught me!
So ten years later I am now updating it again. This time I'm painting the frame white but I don't really want a smooth satin look, I'm going for a chalky finish for an aged look.
Problem is, I am out of white chalk paint! Boo!!!! And I'm a woman on a mission with a budget, so its time to improvise.
So what DO you do when you don't have any chalk paint?
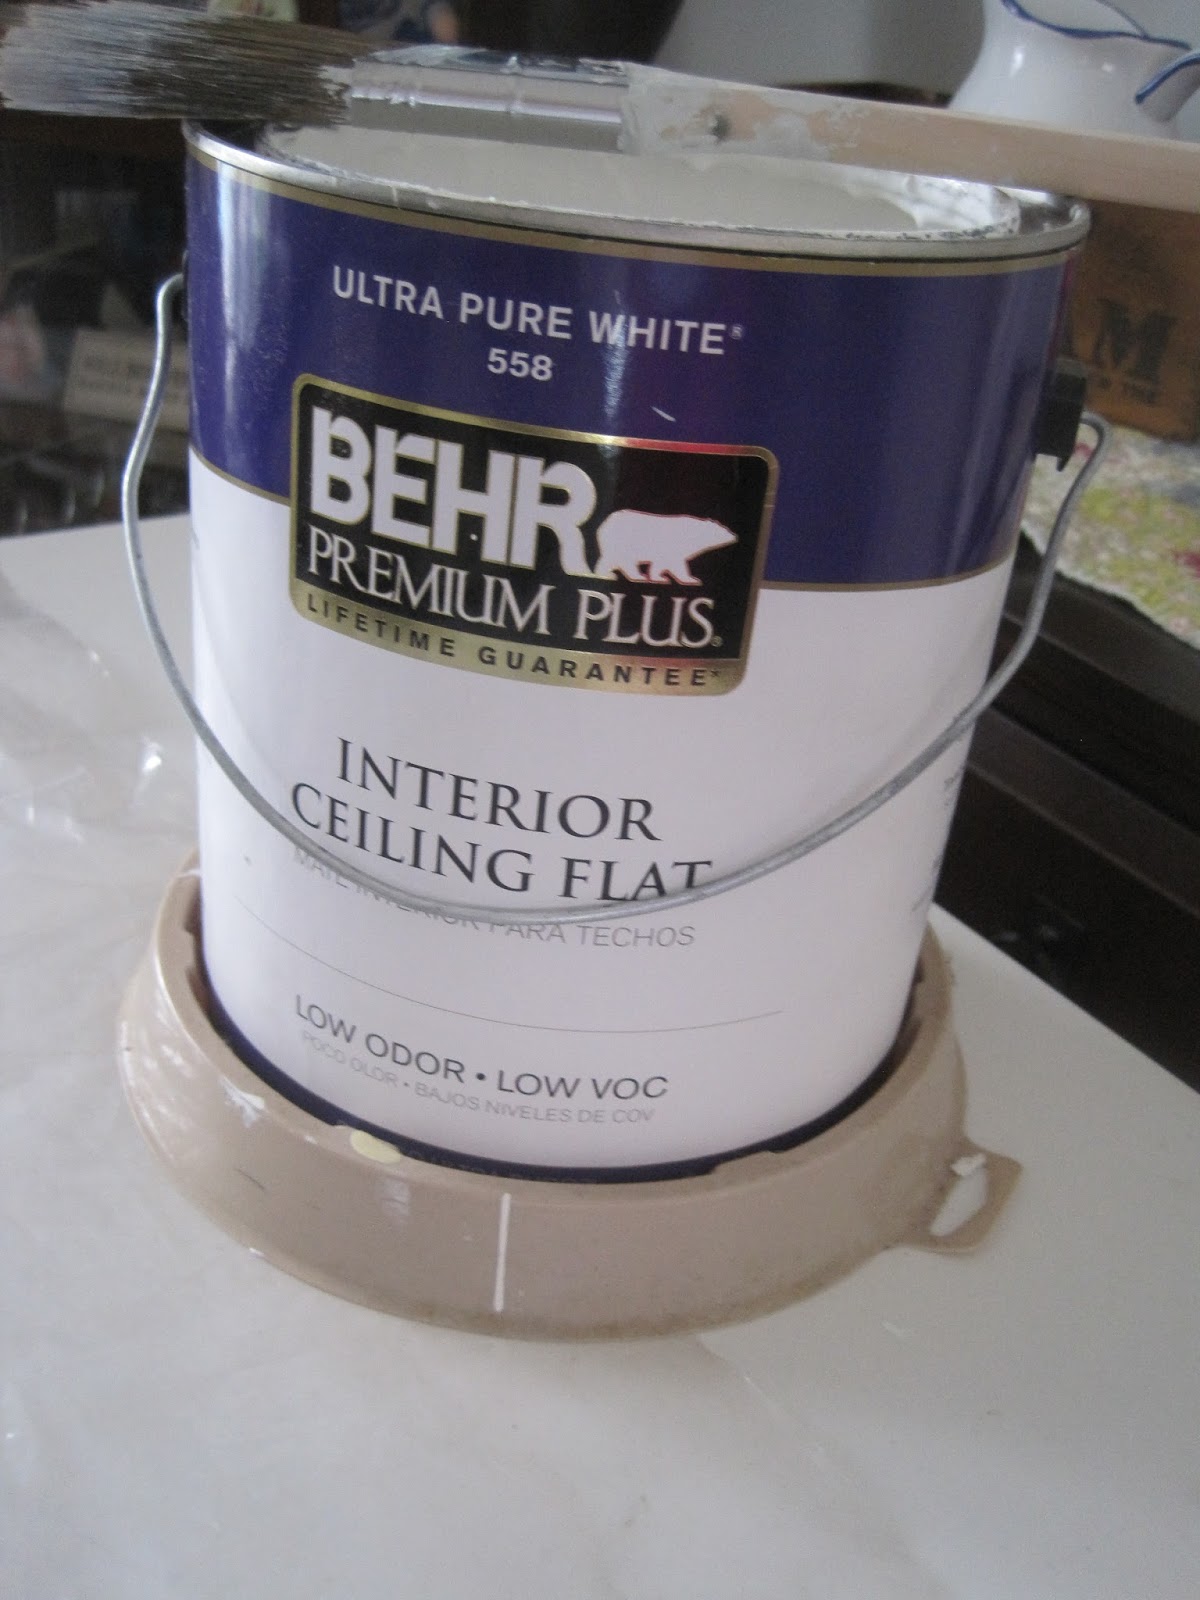
You use white CEILING PAINT, that's what you do!
Here is the before shot of the mirror.
My garage is too cold for painting so I set up table in my living room and threw down a plastic drop cloth to catch drips.

The satin black spray paint finish is nice but it is not the look I am going for.
I want an aged antique chippy look.

So I began around the outer edge and brushed flat white ceiling paint in all the little nooks and crannies.
The trick here is to use the flat ceiling paint and apply light LAYERS.
After about an hour after the first coat dried I applied a second, more liberal coat to get full coverage.

Then I taped off the edge of the mirror so I could finish with the edging.

Here it is after fully covered in white. I went around the mirror one last time and touched up various spots where the black paint was showing thru by pouncing my paint brush so that the paint is dabbed on.
DO NOT attempt to fully load your paint brush and use long brush strokes like you would on furniture. The point here is to have some brush strokes show and to layer on the paint for an aged look.

Below is a picture of a finished corner. Chalky and aged.

I hug up the picture and am beginning to put things back in place. I don't want to give it all way so here is a sneak peek of the mirror on the wall.

I love how shabby/chippy/old this mirror looks now! This is the third and probably final look for this mirror. It is fourteen years old but it has always had a place in my home and I couldn't bare to part with it so I gave it a new look.
Total cost $0, just my time.


So the next time you find yourself out of white chalk paint....check out your garage for a can of white ceiling paint. It makes a GREAT SUBSTITUTE!
Jennifer
Linking Up to These Great Parties:


No comments:
Post a Comment
Your comments are greatly appreciated! I enjoy receiving your feedback.