Tuesday, December 31, 2013

Cheers to a New Year!


Hello everyone!
I apologize for being MIA for the last two weeks but I am taking a much needed break and will be back with new and inspiring projects next week.
 
Until then, I leave you with a gorgeous NYE centerpiece made from old wine bottles.
 
 
http://www.nobiggie.net/nye-free-printable-and-centerpiece/
(Nobiggie.net)


I just love this centerpiece from No Biggie.net.
 
You can click on the picture to take you right to the site.
 
The Pop/Fizz/Clink picture in the background is also one of their creations that you will love!
 
And for more New Year's inspiration you can visit my Pinterest board too by clicking HERE.


Next week I will be back in action and will resume my regular blogging schedule with fun DIY and trash to treasure makeovers, until then I wish you all a
Very Happy New Year and hope you will drink responsibly and be safe!!!!
 
See ya next year!!!
 
(don't cha hate when people say that?!) LOL
 
 
Jennifer


Tuesday, December 17, 2013

DIY Ruffled Christmas Tree


Many of you have asked me about the ruffled Christmas tree I made for my reindeer themed entryway so today I am going to show you how to make this.
 
 
For starters, you need a good cone shape to work with.
You can always purchase a cone from a craft store, but keep in mind these can be a tad bit costly at around $8 or so for an average size Styrofoam cone.
 
 
You can make your own with some heavy card stock or card board or you can do like I did
and buy one of these for a $1! 


That's right, I used a birthday hat from one of the dollar stores!
It had some silver garland stuff around the rim and the top so I just simply ripped that off and removed the elastic rubber band piece as well which left me with this a plain cone shape that was ready to decorate.


Using the red and white checked fabric I got HERE
I simply cut some strips to the width that I wanted and kept the ends frayed for a country/rustic look, then I began hot gluing it around the base in intervals so that it had a "ripple" look to it.


I did this to give it a ruffled look and to add some bulk to it as well.
 
If I did it over again I would probably skip this part and just pinch and glue the material all the way around to create the ruffles.


So after adding two and three rows of the material, this is what your shape should look like.


As I worked my way to the top I began to pinch and glue like I mentioned above and I liked this method better.


Then once I got to the top I simply gathered the material around and hot glued it in place at the peak to create somewhat of a "point" at the top.


And its as easy as that!


Here it is with the rest of the décor.
 
You can kind of see how the bottom two rows stick out a little bit more than the rest of the layers, and I am OK with that as I wanted a country/rustic look and was not aiming for perfection, however, you can eliminate this by simply using the "pinch and glue" method I mentioned above.
 
 
Or, if you prefer a fuller tree stick to the first method with the "rippled" look but continue it throughout.


There are so many different ways to create one of a kind Christmas trees using everything from tissue paper, coffee filters, rope, tinsel, glitter, and the list goes on and on, so its up to you as to how complex you get with it. 
 
 
I love how my tree turned out and it looks great with the color pallet of our reindeer entryway table.
 
 
If you are looking for an idea for quick Christmas décor this is a great project that will add a lot of interest anywhere you chose to put it!
 
And the next time you find yourself in one of the dollar stores be sure to pick up a few of these so that you can make your own Christmas tree!!!!


Pin It
 
Jennifer 


Linking up to:
 

504 Main


Sunday, December 15, 2013

You know Dasher and Dancer and Prancer and Vixen..................


FINALLY! .......
I know, better late than never right? While all of you were publishing posts about your trees and holiday décor this past week I was working on finishing up some projects, cleaning, and taking care of business.  
 I am getting married this Summer and have a lot that still needs to be done for the wedding and that is where my focus is at the moment so I am sharing this with you a tad bit later than I had hoped.
 
Mr.Chaos and I agreed that we were not putting up a tree this year and I am OK with that, but I couldn't go without having SOME sort of Christmas décor around our home to fill us with the holiday spirit.

 
So I broke out the big guns and went through some storage boxes I had and pulled together a festive vignette using what I already had.
 
Welcome to my reindeer themed entryway.


As I was brainstorming I remembered that I had these two deer that I purchased last year at Costco.
(They have the coolest stuff sometimes!)
 
And at first I was going to paint them but I just couldn't do it so I decided the red and brown looked good together and I would keep them the way that they are for now.


In one of the boxes in the basement I came across this center piece that I had since about 2007 when I was a consultant for AtHome America.
It is called
"Reindeer in Flight" and I think Pottery Barn had one similar to it back around the same time frame too.


I love how the first reindeer has a red nose like Rudolph.

 
The red votive glasses added a spark of color that was the starting point for the overall color pallet.
 
For texture and a space filler, I weaved some of my favorite greenery through the reindeer.
 
As you can see this is a greenery that has red berries and frosted stems. I absolutely LOVE the frosted look and this greenery is very flexible meaning you can move it and bend it around so I weaved it in and out of the centerpiece and I love how it turned out.
 
 
Next I added this faux mercury glass vase and filled it with eucalyptus and red berry stems.
You can find instructions on how you can make faux mercury glass HERE.
 
 
To soften this side of the table I added some eucalyptus I had purchased a while back for a Thanksgiving and Fall project that never got underway so I decided to use it for this and I think it adds a nice touch of naturals to this side of the table.


Pin It 
(and see Rudolph's red nose?) I love that this piece has that detail.
 
And now you have the color pallet of beige, reds, and silver.
 
As I was going thru my Christmas stash I also found this fabric wall hanging that was new in the box that I had never even opened so I was excited to be able to use it this year and it really sets off the reindeer theme too!


 And to carry the silver up onto the wall, I hung simple jingle bell wreaths on each side of the reindeer banner with the removable/stick-on hooks.  This added some very needed symmetry and bling to the space.


So here is the top of the table fully put together to welcome guests as they arrive:


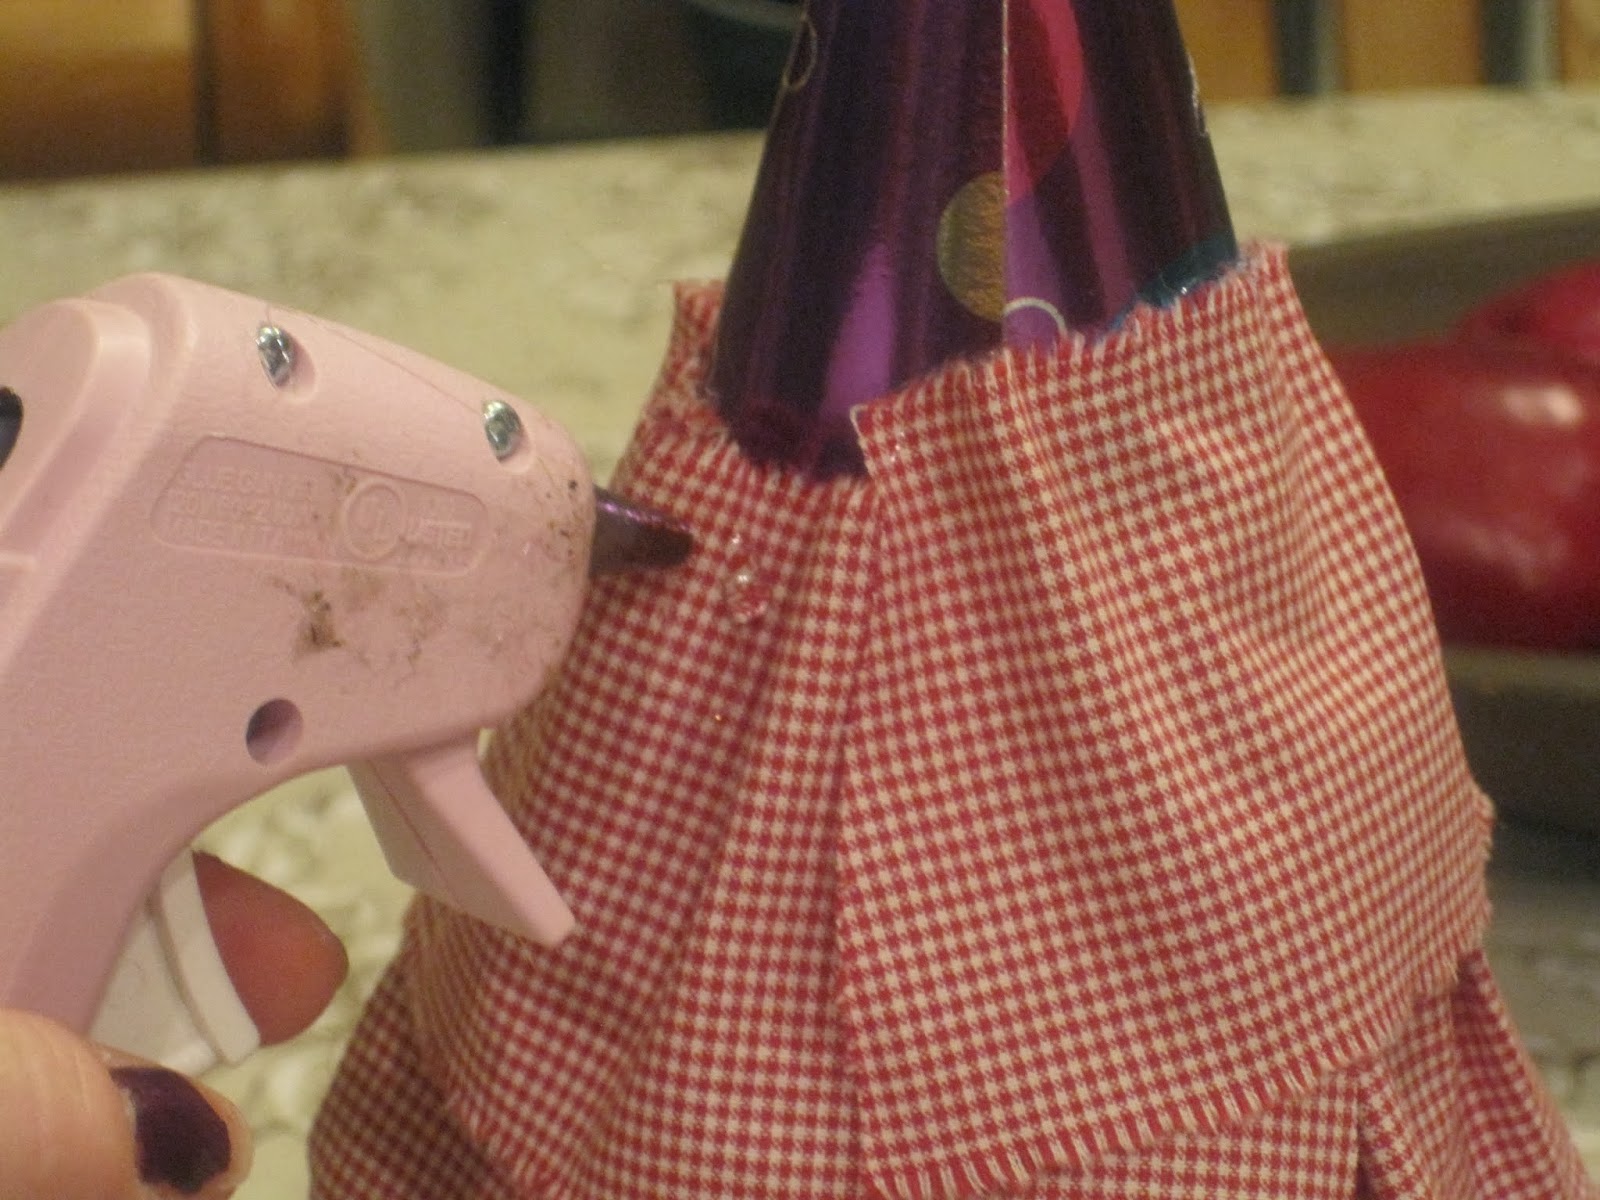
Then down below on the bottom shelf I used this red and white table runner and put Mr.Reindeer #2 down here next to my red and white ruffled tree.

I also added a mercury glass finial ornament to keep the silver theme going and to brighten up this side of the table.  


I love how my ruffle tree turned out!
Its kind of shabby and kind of country so it contrasts with the hard and shiny surfaces from the mercury glass and ornaments.

I will post the DIY for this tree soon.


But most of all, I am happy to say that I used what I had and did not have to purchase new fabric to make it.
 
Remember my post from this time last year when I scored this red and white checked fabric?


Then I picked back up on the brown tones with this lantern I filled with snow, red berries, and a sparkly silver votive holder.
 
 
 Add a few sprigs of evergreen and glittered pine cones, and voila!


Entryway complete!


Pin It

Even though we are not putting up a tree this year, it feels great to have a warm and inviting entryway to welcome our guests.
 
The brown, red, and silver colors looked great together and it really livens up our home and puts us in the Christmas spirit!
 
So now it is on to baking and doing our last minute shopping.
 
I hope you enjoyed seeing this part of our home.


Jennifer


Linking up to these great parties:

TitiCrafty by CamilaA Stroll Thru LifeSunday                          is the day to shareFour fab blogs one great partybig inspiration mondayShowStopperSaturday2In and Out of the Kitchen Link PartyThe Chicken ChickThe Dedicated HouseThe ScoopNew Blog Hop Button125All Things ChristmasMy Uncommon Slice of SuburbiaHouse on the Way0001ntYour Whims WednesdayPhotobucket52 MantelsAwesome Things Tuesdaylivelaughlinky 250x250504 Main