Wednesday, June 4, 2014

New Paint Color in the Dining Room-Going Gray!

I has been an extremely busy couple months here at Decorated Chaos.
 
I moved back into the cape cod in January and have been slowly updating each room one by one. 
 
Last summer when we thought we were going to sell the house I made over the mudroom which you can read about HERE.
 
Now I am going room by room and updating all the other spaces, one by one, as I go.
 
Recently I started making over my dining room and just when I thought I was in love with this space I began to LOVE it even MORE!
 
Here is a preview of the progress:
 
 Driftwood Gray by Martha Stewart
 
Now, when I moved in the dining room was red and although I like red dining rooms, my favorite color is green so I painted it:
 
Happy Camper by Behr (in SW paint).
 
It was green and white with black and silver accents. 


 I loved how fun the green was to decorate with.
 
It had a martini theme and was perfect for entertaining my friends and family.

 
But after eight years it was time for a change.
 
My goal now was to update the space to a look that better represented the style of the house.
 
A lot of my rooms have a coastal/farmhouse feel so I wanted the dining room to flow with this style as well.
 
My first step was to pick a new color that would evoke a Coastal/Farmhouse feel
and after many trips to several paint stores,
and looking thru hours of blog posts and Pinterest boards,
I decided my new color was going to be:
 
Driftwood Gray by Martha Stewart
(in Glidden Duo Paint from HD).
 
 
Pin It


Look at this rich paint! It is the PERFECT gray.
No purple hue, green tone, or beige in site.
It is a solid, even balanced gray. (In my opinion)

 
 And can you believe this paint covered the vibrant green color WITHOUT an additional primer!
 
This paint is FABULOUS! It has primer built in but its different than other paint due to its wonderful coverage.
 
I have always used Sherwin Williams on the inside of the house and love their paint, I really do, but this paint takes the cake for coverage!
 
I give it an A+++!


Pin It
You save money and time by using products that multi purpose and this paint definitely held up to its promise.
 
Here is the Driftwood Gray color against my white hutch and antique brass chandelier.


I am leaning towards doing a special treatment to this wall.
 
It is the wall that leads you into the kitchen so its a major walkway which means whatever I do here needs to be flat and not stick out to interfere with the traffic flow.


The gray transitions well with the soft yellow walls throughout the front room and kitchen.


And this entryway will be getting a makeover too with new moldings and trim.


As for accessories, I am working to implement notes of coastal and farmhouse décor so here are a few of my accessories thus far..........
 
 
Glass jars with lemons, and wine corks.
I love the contrast of the yellow lemons against the gray
(and the yellow ties into the adjacent rooms as well),
along with a small glass jar with wine corks.


And what farmhouse doesn't have a little wooden stool?!
 
Mine is getting a makeover so you will definitely see more of her in the near future!


And these old dishes I found at a thrift store, oohhh, about a YEAR ago!
 
I knew I would have a space for them eventually, so I am SO glad I kept them!


So there ya have it!
 
Phase I of my dining room makeover.
 
If you are looking for a well balanced gray color I HIGHLY recommend Driftwood Gray.
 
And the Glidden Duo paint is FABULOUS!
 
The coverage that this paint provides is award winning!
 (and I am not being compensated to say that either!)
 
 
So next on my list is to get a dining room table and chairs, wall décor, and a rug.
 
So stay tuned for Phase II coming up soon!
 
 
So do you like the gray color?


Pin It 
 
Jennifer


Linking Up to These Great Parties:

Chic on a Shoestring
 
Treasure Hunt Thursdaybutton

partyfeaturesParty with UsThe Scoop
 

 The Shabby NestJUNKINLOGO2211111
Marvelous Monday Linky Party2014 New Link Party GraphicPhotobucketTiticrafty-Bewitch-me-LinkParty-400x400110308754_10203781373763465_7536899127074402936_n
 Treasure Box Tuesday 23In and Out of the Kitchen Link Party

Savvy Southern Stylehttp://www.thethriftyhome.comSay G'Day Saturday photo ftfhopbutton.jpgTop Collage FInal Weekend re Treat Link Party #71One Crafty Summer at Uncommon Designs! A fabulous summer project each week! #summer #diycrafts #onecraftysummerThe-Casual-Craftletelivelaughlinky 250x250The Chicken Chick

Sunday, June 1, 2014

Staining Wood Posts the EASY Way!


Yes, you heard that right.
Wood stain.....IN.A.CAN.
 
That means no more messy, runny, dripping wood stain.
 
When I started seeing this in blogland
I knew I had to give it a try.
 
 
 Pin It
 
When I went shopping for it, I was unable to find it at HD or Lowes, so I went to Ace Hardware and sure enough, they had some, and they even had several colors to chose from as well!
 
(weathered gray, cedar, rustic brown, and a few more)
 
I thought I might like the look of the cedar stain, but I liked the rich hue the picture showed of the Rustic Brown shad as well so I brought home a couple bottles of each and figured I could always take back the ones I didn't use.
 
As you can see below on my practice board, the cedar stain on the left tends to be a little orangey which is not the look I was going for.
 
So I ultimately decided on the Rustic Brown and LOVE the way it turned out!


The story behind these posts is that I used to have a privacy fence all the way around my patio when I bought my house, but after living with it for the first few months I quickly decided it needed to go!
 
So we knocked it down and were left with the posts that were CEMENTED into the ground.
 
These babies were rock solid and were not going anywhere so I dug up three of them on the opposite side of the patio and kept the ones around the side by the table and decided to cut them down half way and cap them off with solar lighting.


It was the BEST decision I made for my patio and I have loved them ever since we did this back in 2006.
 
These solar light caps add a soft glow at night and really make the patio welcoming.
 
However, even though I LOVE these lights and the fact that I kept the posts,
I was NOT happy with how the wood was aging so for a long time I have wanted to stain them but I didn't want the mess associated with staining something upright and vertical like this.


So needless to say when Emily at Décor Chick posted about this spray stain I knew IMMEDIATELY I wanted it and I wanted it now!!!!


So before we get started I wanted to show you an up close view of the posts BEFORE staining them.


Not bad but kind of blah and dirty looking......


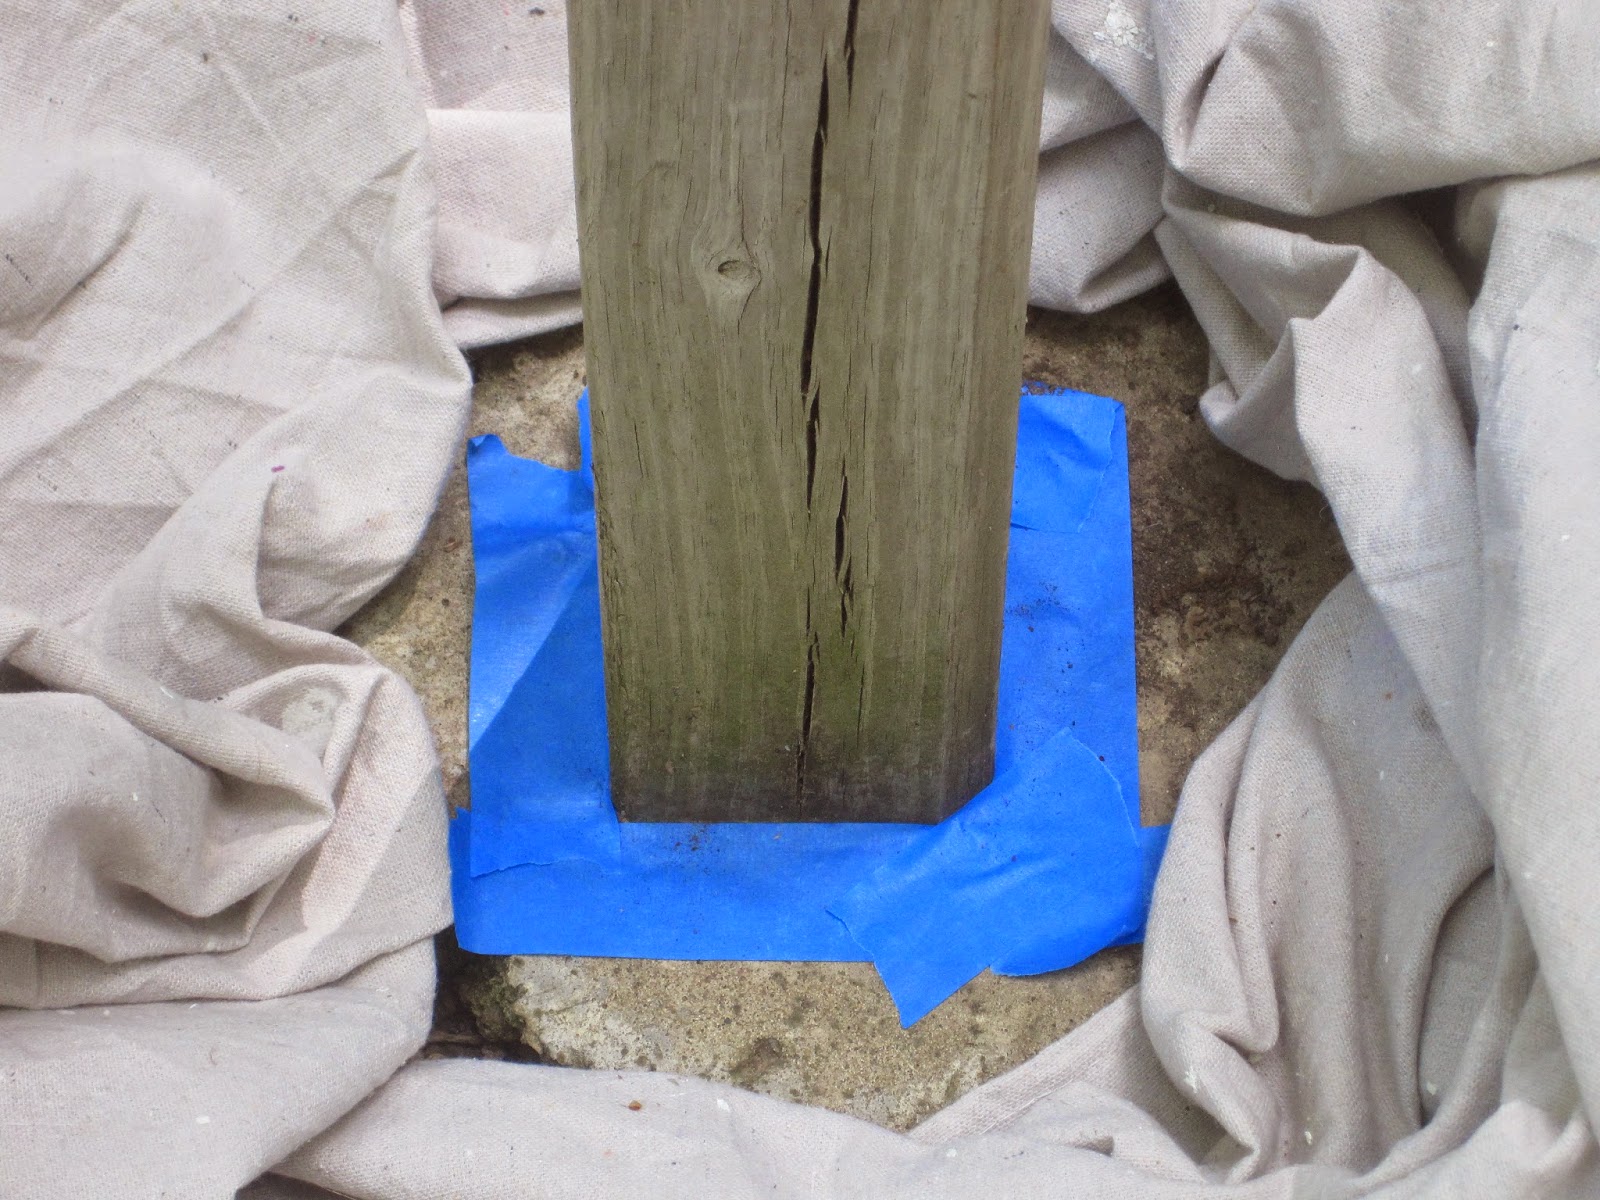
Because my landscaping was all around I decided that I would tape off around the base of each post then to protect my patio and plants from the back spray
I just draped a drop cloth around the area where I was spraying and this worked great.


I took the solar light caps off
 
and wiped down the post to remove dirt and dried leaves
 
 that had stuck on there over time.


 And once your surface is ready you simply shake the can real well just like you would with spray paint,
 
then spray it on in long even strokes.
 
And it looks so rich and fresh!!!!
 
....just with ONE coat!!!


The can says it dries quickly, I think it states in 15 minutes, but I can tell you mine did not dry that fast.
 
I applied one main coat over the entire post then about 15 min later went back and lightly touched up around it where I may have missed
and let it sit for about an hour then moved on to the next post.
 
I made lunch, worked on other projects, and threw in a couple loads of laundry while I was letting each one dry.
 
And that's it!.


Its as simple as that and now my posts are stained and look really nice against the colors of my landscaping.


Pin It
 
This project that went unfinished
for SO MANY years
is now knocked off of my to-do list
and it was super easy to do!
 
......thanks to Krylon's spray stain!


*I was NOT compensated by Krylon to tell you about their spray stain....I just found a product I loved and wanted to share it with you.
 
 
Now, onto more projects!
 
 
Have a wonderful week!
 
 
Jennifer


Linking Up to These Great Parties:
Monday Funday Link PartySaturday Party Banner Saturday ShowLicious Craft and Recipe Party LIVE! The Dedicated HouseOne on sidebarTiticrafty-Bewitch-me-LinkParty-400x4001tutorials & tips buttonbuttonPhotobucketThe Chicken Chick
By Stephanie LynnThe ScoopBlog Hop Blank 5 banner10308754_10203781373763465_7536899127074402936_nlivelaughlinky 250x250