

via Garden World Images
Fall is here and we're supposed to get a cold streak in the mid-west in a few more days so I wanted to jump right in and get my bulbs planted before I missed my opportunity.
If you have already had a freeze no worries.
As long as it goes back up into the 50s and 60s during the day you can still get the bulbs planted and they should survive.
If you have already had a freeze no worries.
As long as it goes back up into the 50s and 60s during the day you can still get the bulbs planted and they should survive.
Have you ever planted bulbs?
If so, we can compare notes, but if you are new to bulb planting there are a few things to keep in mind to ensure the best blooms.
Keep in mind that certain flowers can be planted using seed packets, or by planting the actual plant/flower straight into the ground.
As an example, lets talk about Hostas. You can actually buy a Hosta from your local garden store and plant it right into the ground in the Spring or Summer and it will do just fine.
When you plant flowers/plants like this you are planting the root base into the soil and that is how it is able to grow,
but some flowers will not grow by planting the flower alone and require the BULB to be planted.
but some flowers will not grow by planting the flower alone and require the BULB to be planted.
When you plant bulbs keep in mind that they will not automatically bloom.
You must allow a six to eight week germination period before the flowers bloom.
So you see, that is why Spring blooming bulbs like Daffodills and Tulips do best when you plan them in the Fall.
They need the time during the Fall and Winter to get ready for their Spring blooming season.
I already have several red Tulips that I adore, so today I am going to show you how I planted some
Blue/Purple Hyacinth like the picture above, and Daffodils.


I chose these two because of their color AND bloom pattern.
Notice the Hyacinth are EARLY Spring bloomers. That means they will bloom at the beginning of the blooming season, so in my zone I expect them around late February or early March.
Now the Daffodils on the other hand say they are MID Spring blooming so they will start to come up around the time the Hyacinth are dyeing off, which means I will have a nice rotation of blooms so that there is always something pretty to look at!
Because they have staggering bloom times I am ok with planting them in the same spot too. They will not all bloom at once but I do however hope their blooms overlap so I can have the space full of blooms for at least a week or two before the Hyacinth starts to die back.
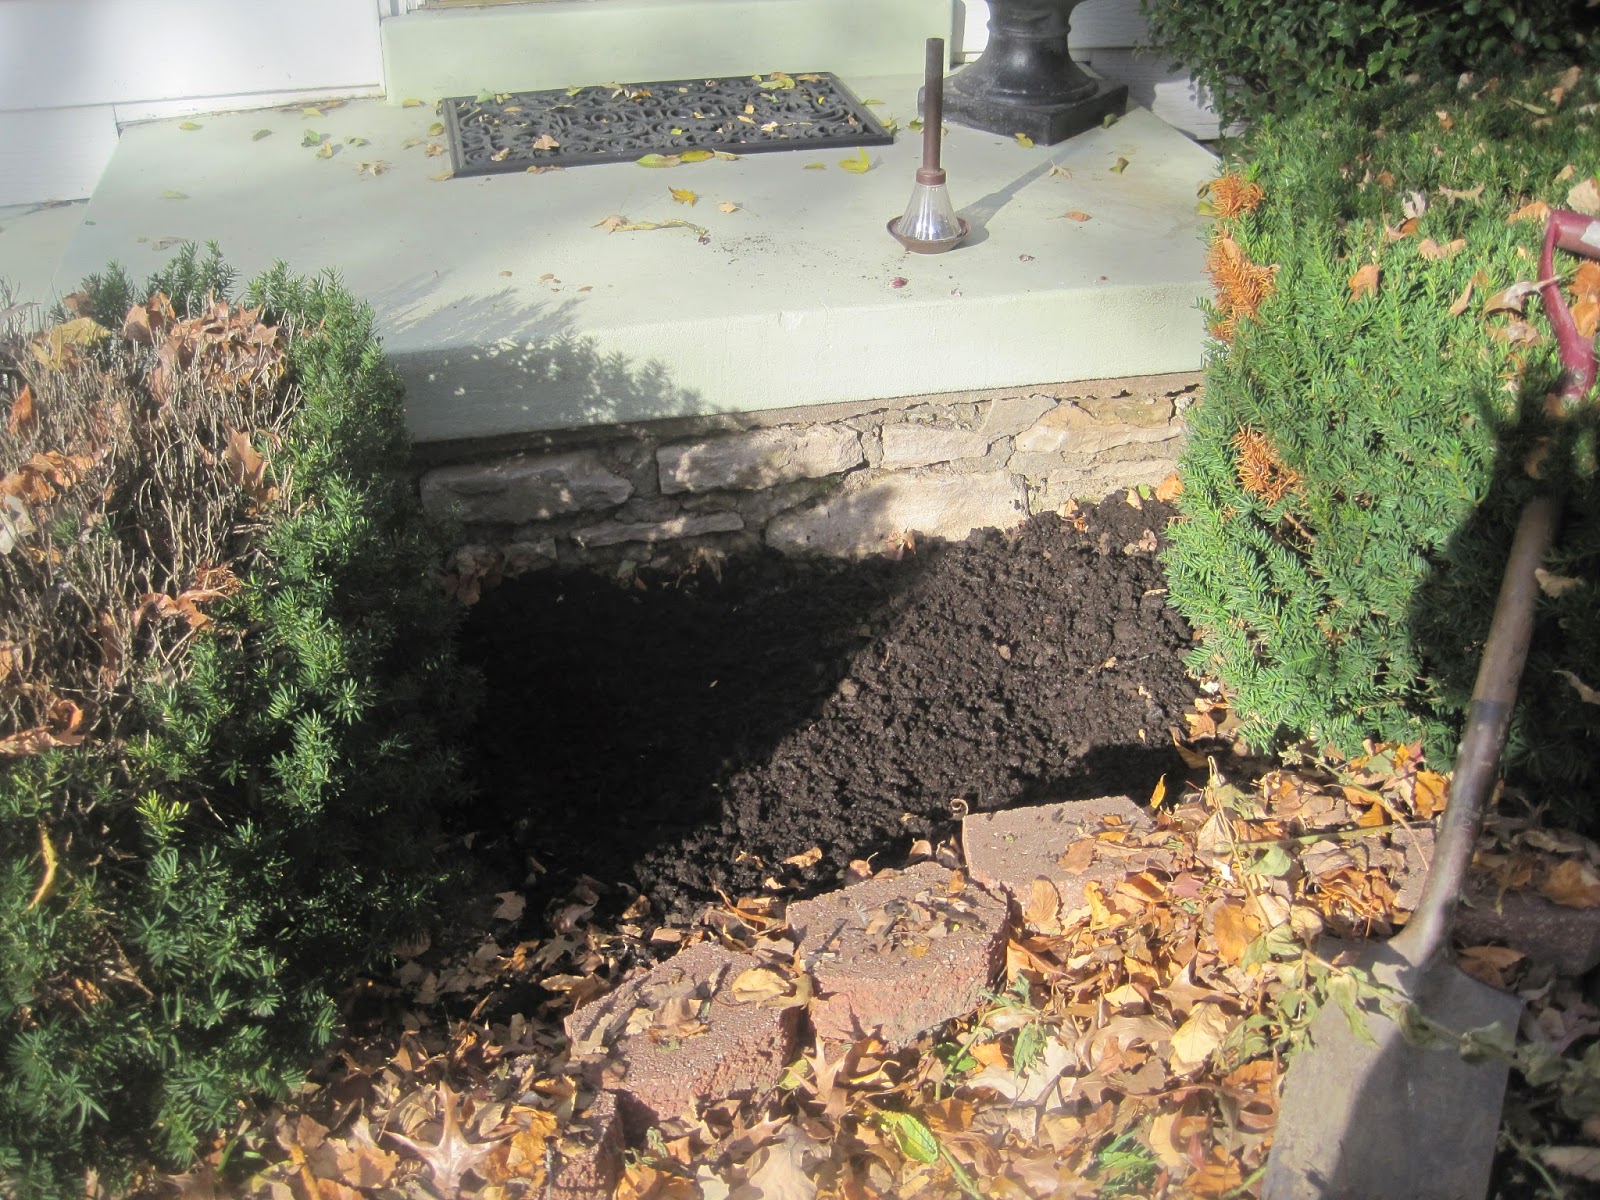
I chose to put them in the bed in front of my porch and front door in the same place I had those pretty
Zinnias planted this Summer.
They were long bloomers but died when we got our first frost.
So away they go!

Dead foliage...yuck!

I like to use a thin rake like this to clean out flower beds.
The thin metal pieces act like fingers and are great for getting into tight spots and grabbing clumps of leaves.


After the leaves were removed it was time to plant the bulbs.
Now, when planting the bulbs you can definitely use a shovel to dig a hole to put the bulbs in.
I did that when I planted my red Tulips that you can see HERE.
I was working with one flower type and was clustering them together so digging a hole with a shovel was the easiest way for me to plant them, ,but this time I am working with two different types of bulbs and I want them planted individually and staggered randomly throughout the space.
Because of this I chose to plant them individually using my bulb planter.

This sucker is so easy to use and it really makes this job go by so much quicker.
Simply push it into the ground....twisting and pushing as you go to get as deep as you can.

Then pull it up and it will remove the chunk of dirt and give you a nice round hole for your bulb.

Be sure to place your bulb with the point UPWARD. This is the direction your flower will bloom from so it is IMPERATIVE that you place our bulb upright so it can bloom properly.

Here you can see the spacing between each one. I try to keep about two inches between them but its not an exact science. They just need enough room so that each of their stems can pop up.

After all 16 bulbs were planted I simply covered them back up with the dirt I removed with the bulb planter then I chose to add a layer of top soil over the top.
You do not have to do this step, but we are expected to have an unusually cold Winter so I felt this would add a layer of protection.
You do not have to do this step, but we are expected to have an unusually cold Winter so I felt this would add a layer of protection.
Then I also made doubly sure to add a layer of leaves back on to too.

You do not have to do this either, but I feel like it adds another layer of protection and provides some nutrients over the long Winter that new bulbs need.
(and if you're like me and have an abundance of leaves, you save money from having to buy mulch)
I may regret it when I have to clean it out again next Spring, but oh well!

And now I can go back to my Fall and Christmas projects knowing that I have everything ready for Spring!

Jennifer
Linking Up to These Great Parties:


No comments:
Post a Comment
Your comments are greatly appreciated! I enjoy receiving your feedback.