Wednesday, May 20, 2015

Junk Drawer Organization

Ok, don't judge me. Its a junk drawer. Doesn't everybody have one? .....or is it just me?


I have always had a junk drawer and when I moved into my house nine years ago this drawer in the kitchen became a catch all for every day items like box knives, glue, tape, night lights, etc.
 
But after nine years of neglect it got to the point where you couldn't even shut the drawer, so I knew it was finally time to stop the madness!
 
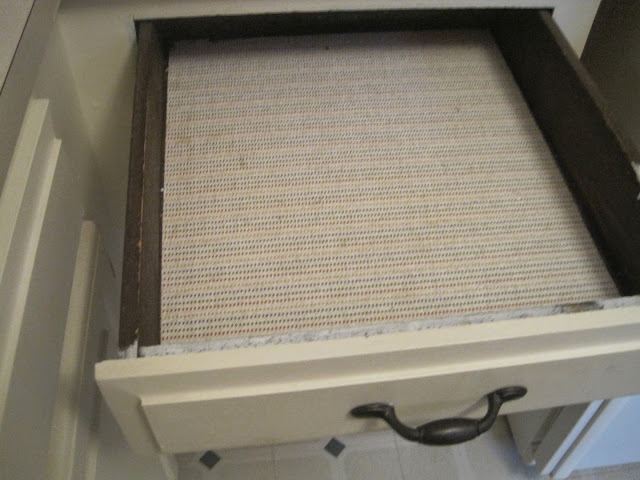
So first things first. I emptied the drawer. The drawer liner was in good shape and just needed a good wipe down.


Next comes this handy little guy that I found at TJMaxx.
No, this is not a sponsored post.....just thought I would tell you where I bought my organizer, and to be honest, TJM has a good variety of organizers and I highly recommend checking them out the next time you need something like this.


What I really like most of all is that the organizer has this expandable tray that slides in and out to accommodate your drawer size.
 
Of course I needed as much organization room as I could get so I expanded mine out a little to give me an extra compartment.


Once I added the drawer organizer it was now time to put things back into the drawer.

I threw out things I didn't need or had gone bad like old batteries, dried up glues, expired coupons, etc. and only put back what was relevant AND needed.


Because this is a junk drawer INSIDE my house, I needed a place to house things like scissors, box knives, tape measures, batteries, and flashlights, and I wanted everything in ONE PLACE.
 
The last thing you need is to have MULTIPLE junk drawers so try to maximize  your space in a way that allows you to have what you need centralized to one spot. This will make your life so much easier!


Of course you can see I have a few small screw drivers in here as well, but please note, you do not need your entire collection in here. I keep the rest of my screwdrivers in the garage, along with wrenches and all that other stuff.
 
My point is, what you keep in here should be basic tools that you will need frequently. The one odd tool that you break out once a year should not be kept in here!


And here is the before and after:


Oh and keep in mind being organized SAVES you MONEY! That's right. Now that everything can bee easily seen and located it will cut down on buying duplicates!
 
I can't tell you how many times I forgot I had AAA batteries and ended up buying more when what I really needed was AA, which is money wasted! Boo.
 
So what have we learned today?
 
  • Only keep items that are relevant and necessary.
  • If you only use something once or twice a year put it somewhere else, not in here!
  • Group like items together.
 
 
There are many different styles of organizers out there to fit your needs, so don't be afraid to try different methods until you find the right one.


Happy Spring Cleaning!

Jennifer


Wednesday, May 13, 2015

Thrifty Spring Centerpiece


Pin It 


Whenever I shop at the thrift stores I always like to swing by the home décor section that contains the miscellaneous baskets, containers, and floral.


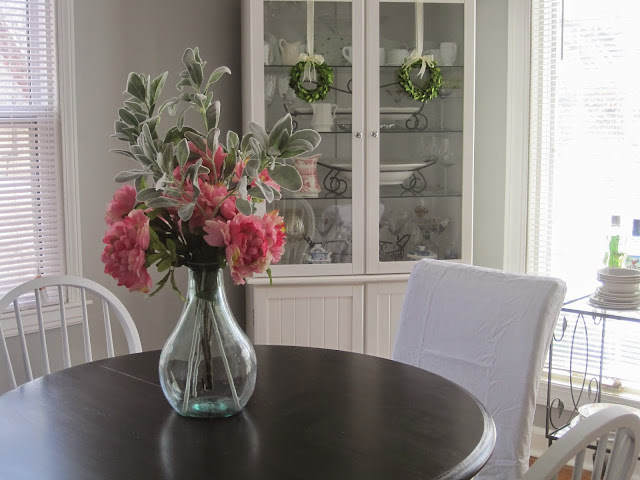
When I found a floral bunch of pink peonies I had to have them.
 
They were in perfect shape and looked so real.


I also stumbled upon this glass jug too and I thought together they would make the perfect arrangement for my dining room.
 
 
To add a contrast I grabbed three or four sprigs of this very pretty greenery from PierOne.
 
They are fuzzy and light green kind of like lambs ear, and I knew they would add a softness to my floral arrangement so I had to have them too!


The pop of bright pink against the soft green look great together in my gray dining room.


Pin It
 
I have made several changes to this room over the past year but it took me forever to find something for my table.
 
I wanted a pretty centerpiece that didn't overtake the room but yet I wanted it to be somewhat substantial and could stand alone because I did not want a lot of clutter on the table.
 
So after finding the bunch of faux pink penoies at the GW, I knew I was on to something, and I love how it all turned out!
 
 
You can read amore about my dining room progress in these posts:
 
Dining color transformation HERE
Dining room table makeover and tutorial HERE
More details about the rug and slipcovers HERE
 
 
I am enjoying this Spring centerpiece while I can and am actually thinking about leaving it here until I change it out in the Fall.
 
 
Before spending a lot of money on retail store floral, don't forget to check your local thrift stores.
You never know what you will find!


Jennifer


Linking Up To These Great Parties:

H&GT BUTTON FALLPhotobucketMarvelous Monday Linky Party
 

The Bajan TexanThe Dedicated HousePhotobucketThe Dedicated House
Savvy Southern Style

Sunday, May 10, 2015

Staircase Makeover Progress (Phase II)

 
Well, well, well. Here we are after about three weeks now, and the staircase project is still in the works but I am happy to report that it is not completely stalled. The wheels ARE really in motion but they're just a little slow right now.  
 
We have had a lot of rain...I mean A LOT.
 
So much rain that the ground just can't soak up anymore.
Here is living proof....it is the standing water in my back yard. YIKES!
 
 
The silver lining to this cloud is that I have a working sump pump AND all the rainy days have given me an opportunity to continue working inside on the staircase.
 
 
I pulled off the carpeting two steps at a time.
That seemed to be a good chunk to work with at one time. Anything more than two steps worth was too heavy and bulky to work with so I worked two at a time.


Pulling.....


And cutting............


And chiseling...........


And prying...........


Until I finally made it to the top!!!!!


But uh oh. I had come to a crossroad. What do I do now???
 
Do I take up the carpeting in the hallway?
 
Or leave it? Decisions, decisions.
 
..............Well, of COURSE I pulled it up too!!!!


And it was no surprise that I found stains. These stains confirmed my decision to rip up the carpeting in the hallway.


I pulled up the carpeting then pulled up the padding and revealed a charming hardwood floor landing.
 
Yay!


And here we are at the end of Phase II with the carpeting, padding, and nail tacks removed.


Pin It 

So here we are: demo pretty much done, popcorn ceilings scraped in the hallway, and paint swatches displayed proudly while I overanalyze pick out my color choices. 

My back is sore, muscles ache, and I'm dying for a manicure!!!! LOL :)

But we're moving on. Forging forward with our plan, and I can't wait until its all nice and pretty and worthy of a big reveal!!!!


You can see Phase I by going HERE.


Have a great week and stay dry!

Jennifer


Linking Up to These Great Parties:


Thursday, May 7, 2015

DIY Farmhouse Kitchen Sign


Pin It
  
Recently, between all the DIY projects, I took some down time to sign up for a local craft class I found through a Facebook group page.


We have a KC Pinterest Addicts page that gets a lot of traffic with buying and selling home wares and crafters offering craft classes as well, so I took some time out of my busy schedule and decided I needed a girls night out crafting.


We made a farmhouse sign using vinyl from a local vinyl shop and I am so happy with how this turned out.

I have a Cricut machine and have used it to make vinyl stuff like this family plate, or Halloween plate, but I have never used vinyl as a stencil.


So follow along with me as I show you how to make a farmhouse sign.


First you take a board and stain it then use a chip brush to brush on some creamy white paint.


Here we are starting to paint our boards.
 
The group on the left is making one kind of sing and my group on the right is making the farm house sign. I used creamy white paint for mine but one lady used a red color and one used a beige color so this part is up to you and what matches your décor.


Then take your vinyl cut out and just position it over the board and cut off the excess to make it easier to work with.

Then rub it with our hand or a credit card to get the air bubbles out.

Then score the transfer paper down the middle so you have two sections.

Peel off one section and attach it to your board the peel of the second section so that the entire piece is now facing down on your board.


Then begin peeling the top part off in small/medium sized pieces and pull at an angle to prevent the vinyl from lifting.


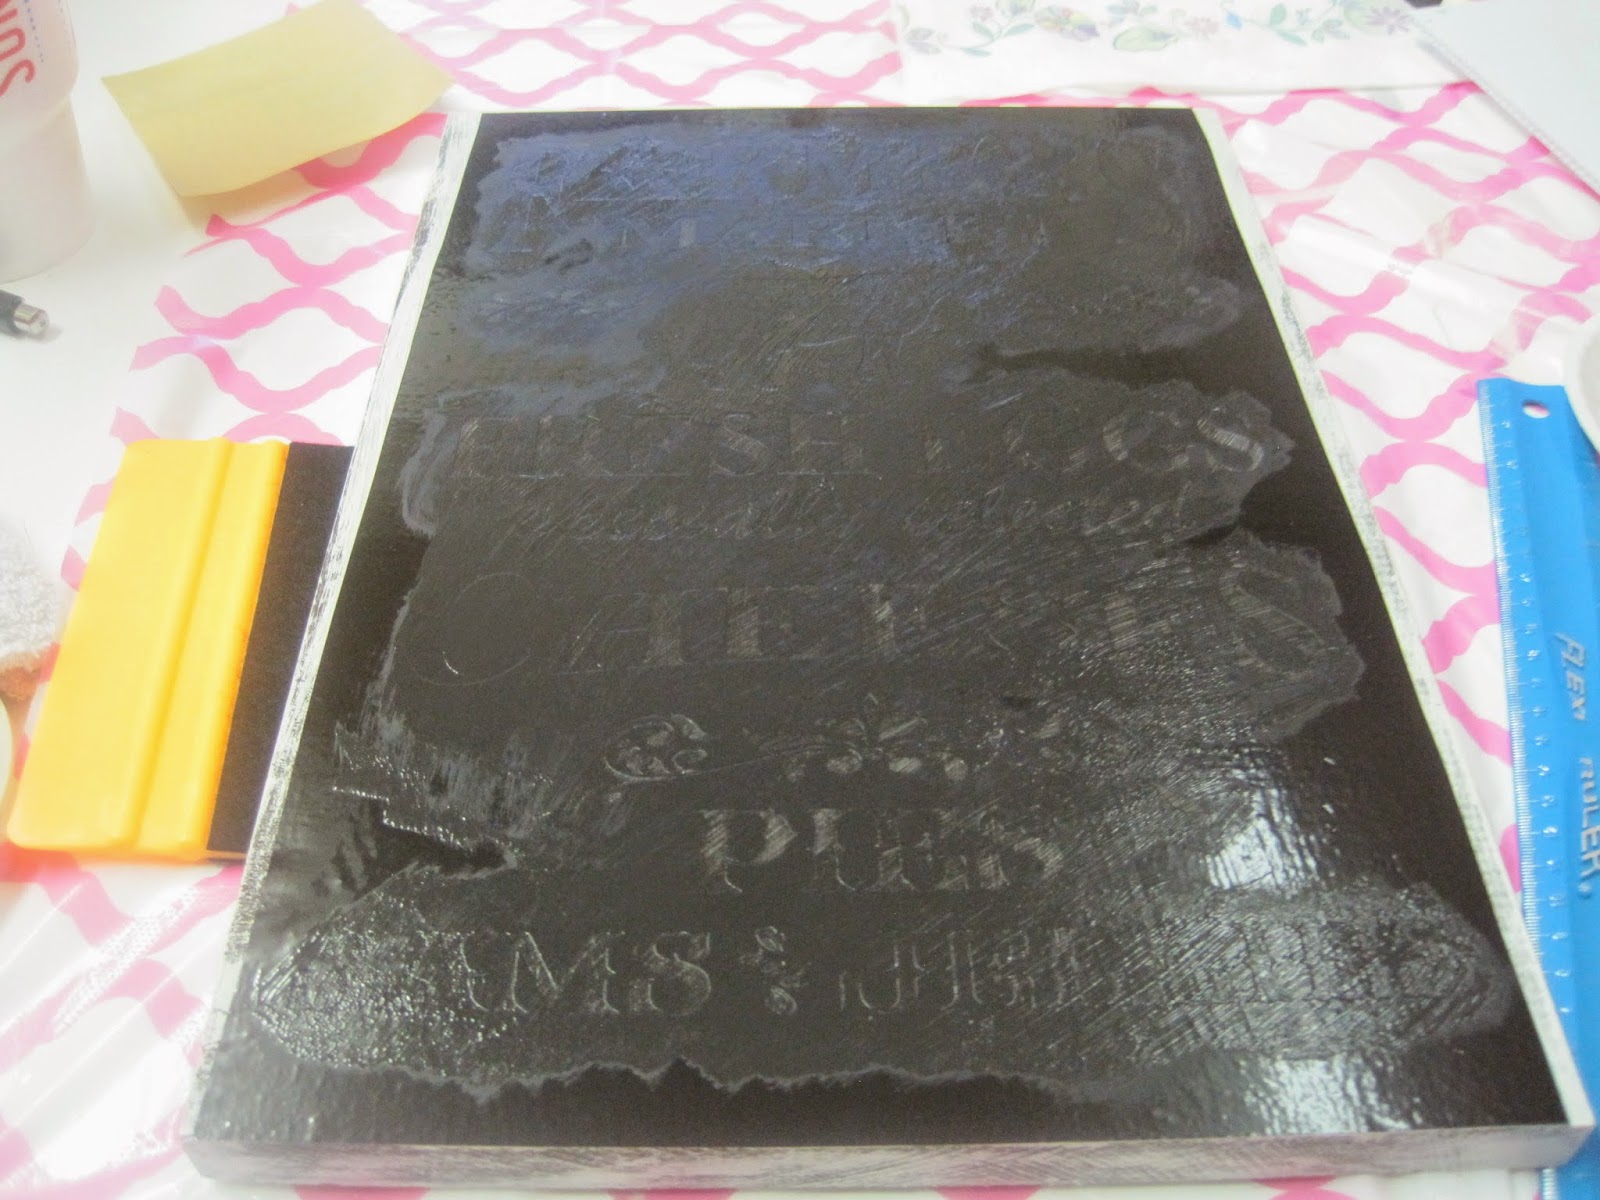
Once the vinyl is attached to the board and the top part is pulled off it will look like this:


You now basically have a "stencil" that is attached to your board.

Rub out any air pockets then use a foam brush and dab black paint onto the exposed wording areas.


Here I am almost done:


And here it is with all the black paint dabbed on:


Now for the fun part!!!!!


Pull off your vinyl to reveal the black painted/stenciled lettering.


Use your exacto knife to lift up those hard to get pieces.....


then lightly rough up the edges with sand paper.


Now ooh and aahh at the lovely farm house sign you just created!


Here's the entire group with their finished sign:


And here she is hanging on my wall in my kitchen.


Pin It 
 
 
So if you have been wondering "how do you do that"?
Well, now you know.
 
By using the vinyl as a stencil, you can get as creative as you want and make any sign.
 
The possibilities are endless!


Have a wonderful weekend,
 
 
Jennifer


The Shabby NestPhotobucket Rustic and Refined
Marvelous Monday Linky PartyThe Chicken ChickConfessions of a Plate Addict

Photobucketthursday favorite things hostesses final 2015Join MeH&GT BUTTON FALL
 

The Bajan TexanThe Dedicated HouseThe Dedicated House

Savvy Southern StyleGet Your DIY On